It is likely that employers will be contacting you about interviews and job offers through your PSU student email account. Make sure your PSU email is set up on your mobile device by reading the steps below:
If these tips don’t help, check out the Outlook website for FAQs and troubleshooting.
Set up an Office 365, Exchange, or Outlook.com email in the iOS Mail app


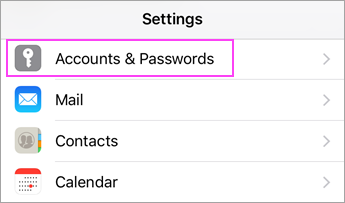
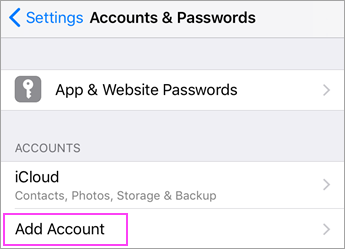
Go to your iPhone or iPad’s Settings > scroll down and tap Accounts & Passwords > Add Account.
Note: If you’re on iOS 10, go to Mail > Accounts >Add Account.

Select Exchange.
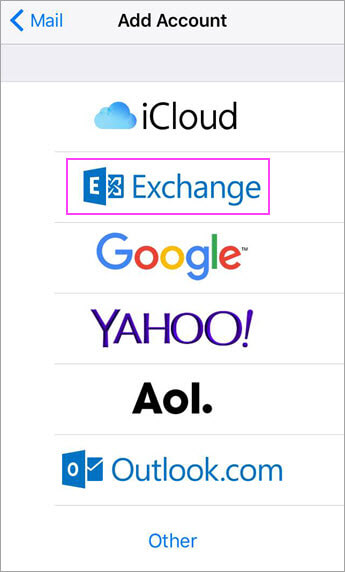

Enter your Office 365, Exchange, or Outlook.com email address and a description of your account. Tap Next.

Tap Sign In.
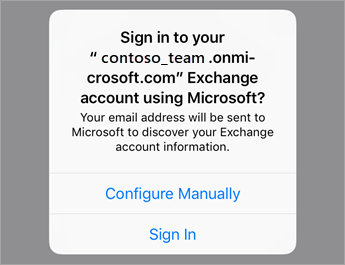
Note: Tap Configure manually if you need to enter server settings.

Enter the password associated with your email account. Tap Sign in or Next.


The Mail app may request certain permissions. Tap Accept.


Choose the services you want to sync with your iOS device and tap Save. You’re done!

Set up email in Outlook for iOS mobile app
Open Outlook for iOS. The icon looks like this:

If you don’t have it yet, download it from the Apple Store.
Note: Available for iOS devices using iOS 10.0 or higher.
First time using Outlook for iOS? Just tap Get Started.
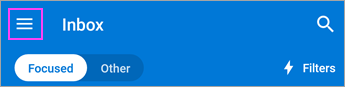
If not, tap the menu icon the upper left corner.

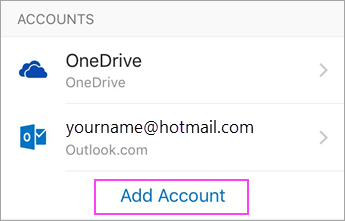
Tap Settings  > Add Account > Add Email Account.
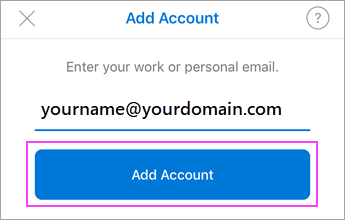
Type your full email address, then tap Add Account.
Note: If you’re asked to select your email provider, you may have to set up your email account manually using Exchange or IMAP/POP.
Enter your email account password and tap Sign In.
Note: The sign in screen may look different for you depending on your email provider.

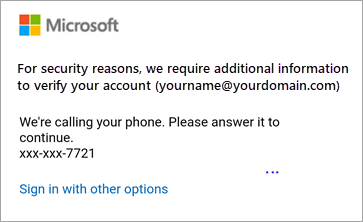
If 2-step verification for Office 365 is enabled, verify yourself using the method you set up (6 digit code, phone call, or using the Microsoft Authenticator app.)
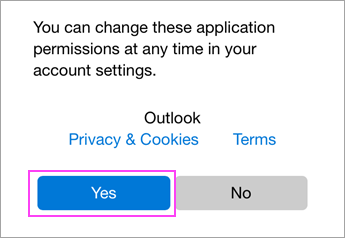
Tap Yes or Allow to give Outlook permission to sync calendar, contacts, etc.
Swipe through the intro and you’re now ready to use Outlook for iOS!
Set Up Email in Android Mail App
Android mail apps may look different across different devices, and these directions may not exactly match the options you see. Use these steps as a guide or consult the manufacturer’s help for your particular device.
Before you begin, update the Gmail app to the latest version:
- Open the Google Play Store app on your phone or tablet.
- Type “Gmail” into the search bar and then select Update.
Note: If the update option is not available, you’re already on the latest version.
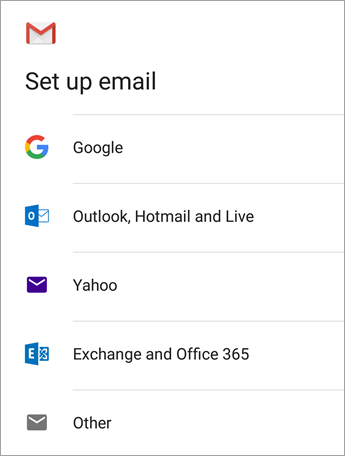
Open the Gmail app.
Tap the menu icon in the upper left corner > Settings > Add account > Exchange and Office 365.
Important: Do NOT choose “Outlook, Hotmail, and Live” unless you want to sync email only and not calendar/contacts.
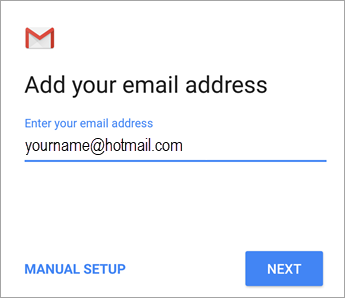
Enter your full email address and tap Next.
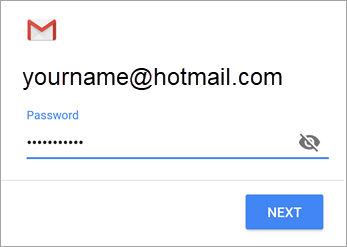
Enter your password and tap Next.
Follow steps for your account type:
- Outlook.com users: skip this step
- Exchange or other accounts: you may have to ask your IT admin or email provider for server settings and set up your account manually
- Office 365 work or school: you may see a Redirect requestscreen. Tap OK.On the Incoming server settings screen, change your server to outlook.office365.com.

Follow any prompts you may get for security or device permissions, sync settings, and more.
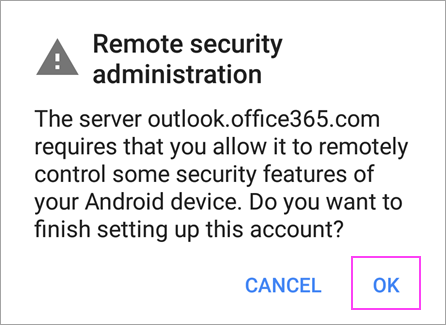
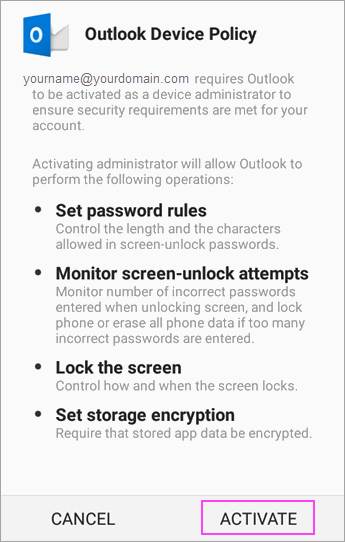
If you have an Office 365 work or school account, you may also be asked to confirm Remote security administration and approve additional security measures. In this case, choose OK or Activate.
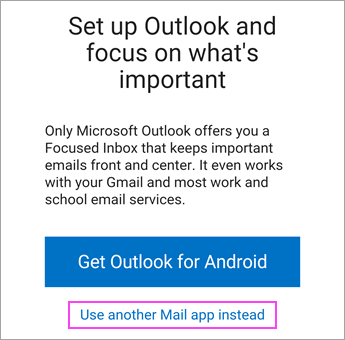
Go to the inbox you just set up. If you see an email that says “Action Required to Sync Email,” open it and tap Use another Mail app instead.
If you don’t see this message and emails are syncing, skip this step.
Pull down the Android notification bar by swiping down from the top of your screen.
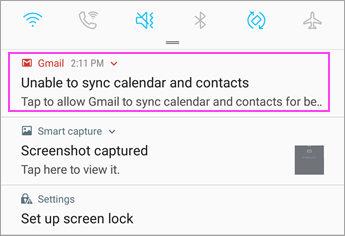
If you see a notification that reads “Unable to sync calendar and contacts,” tap it. Then tap Allow to give access and you’re done!
Note: If you don’t see a sync error, verify your calendar and contacts are syncing.
Set up email in the Outlook for Android app
Open the Outlook for Android app. The icon looks like this:

If you don’t have it yet, download Outlook for Androidfrom the Google Play Store.
Note: See www.products.office.com for more information and minimum requirements.
Tap Get Started if it’s your first time.
Otherwise, open the Menu and tap Settings > Add Account >Add Email Account.

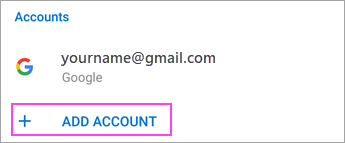
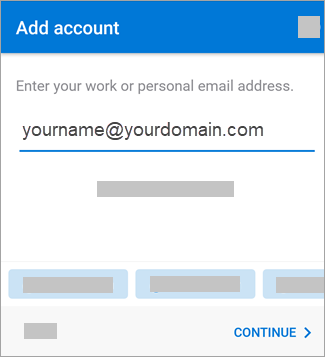
Enter your full email address, then tap Continue.
Note: If you’re asked to choose your provider, you’ll have to Set up your Exchange manually or set up an IMAP or POP account.
Enter your email account password and tap Sign In or Next.
Note: The sign in screen may look different for you depending on your email provider.

If 2-step verification is enabled, verify yourself using the method you set up (6 digit code, phone call, or Microsoft Authenticator app).
Note: If you’re prompted to Set up 2-step verification for Office 365, it may be required by your IT admin.
If your IT admin has set additional policies, tap Activate and Activate again. Outlook may also request permission to access your calendar, contacts, etc. Tap Yes or Allow.